Anamorphic Lensing | Lomo 50mm Square Front - Part 2 | Written by: Keith Nickoson
Welcome to part 2 of the Lomo 50mm square-front anamorphic lens review. Let's dive right into the flare characteristics of the lens. This lens flares quite easily and provides both a strong wash of veiling glare and a mean horizontal streak depending on the light source and angle. Of the set, this lens has the greatest overall contrast reduction, comparatively, when exposed to an on-axis point light source.
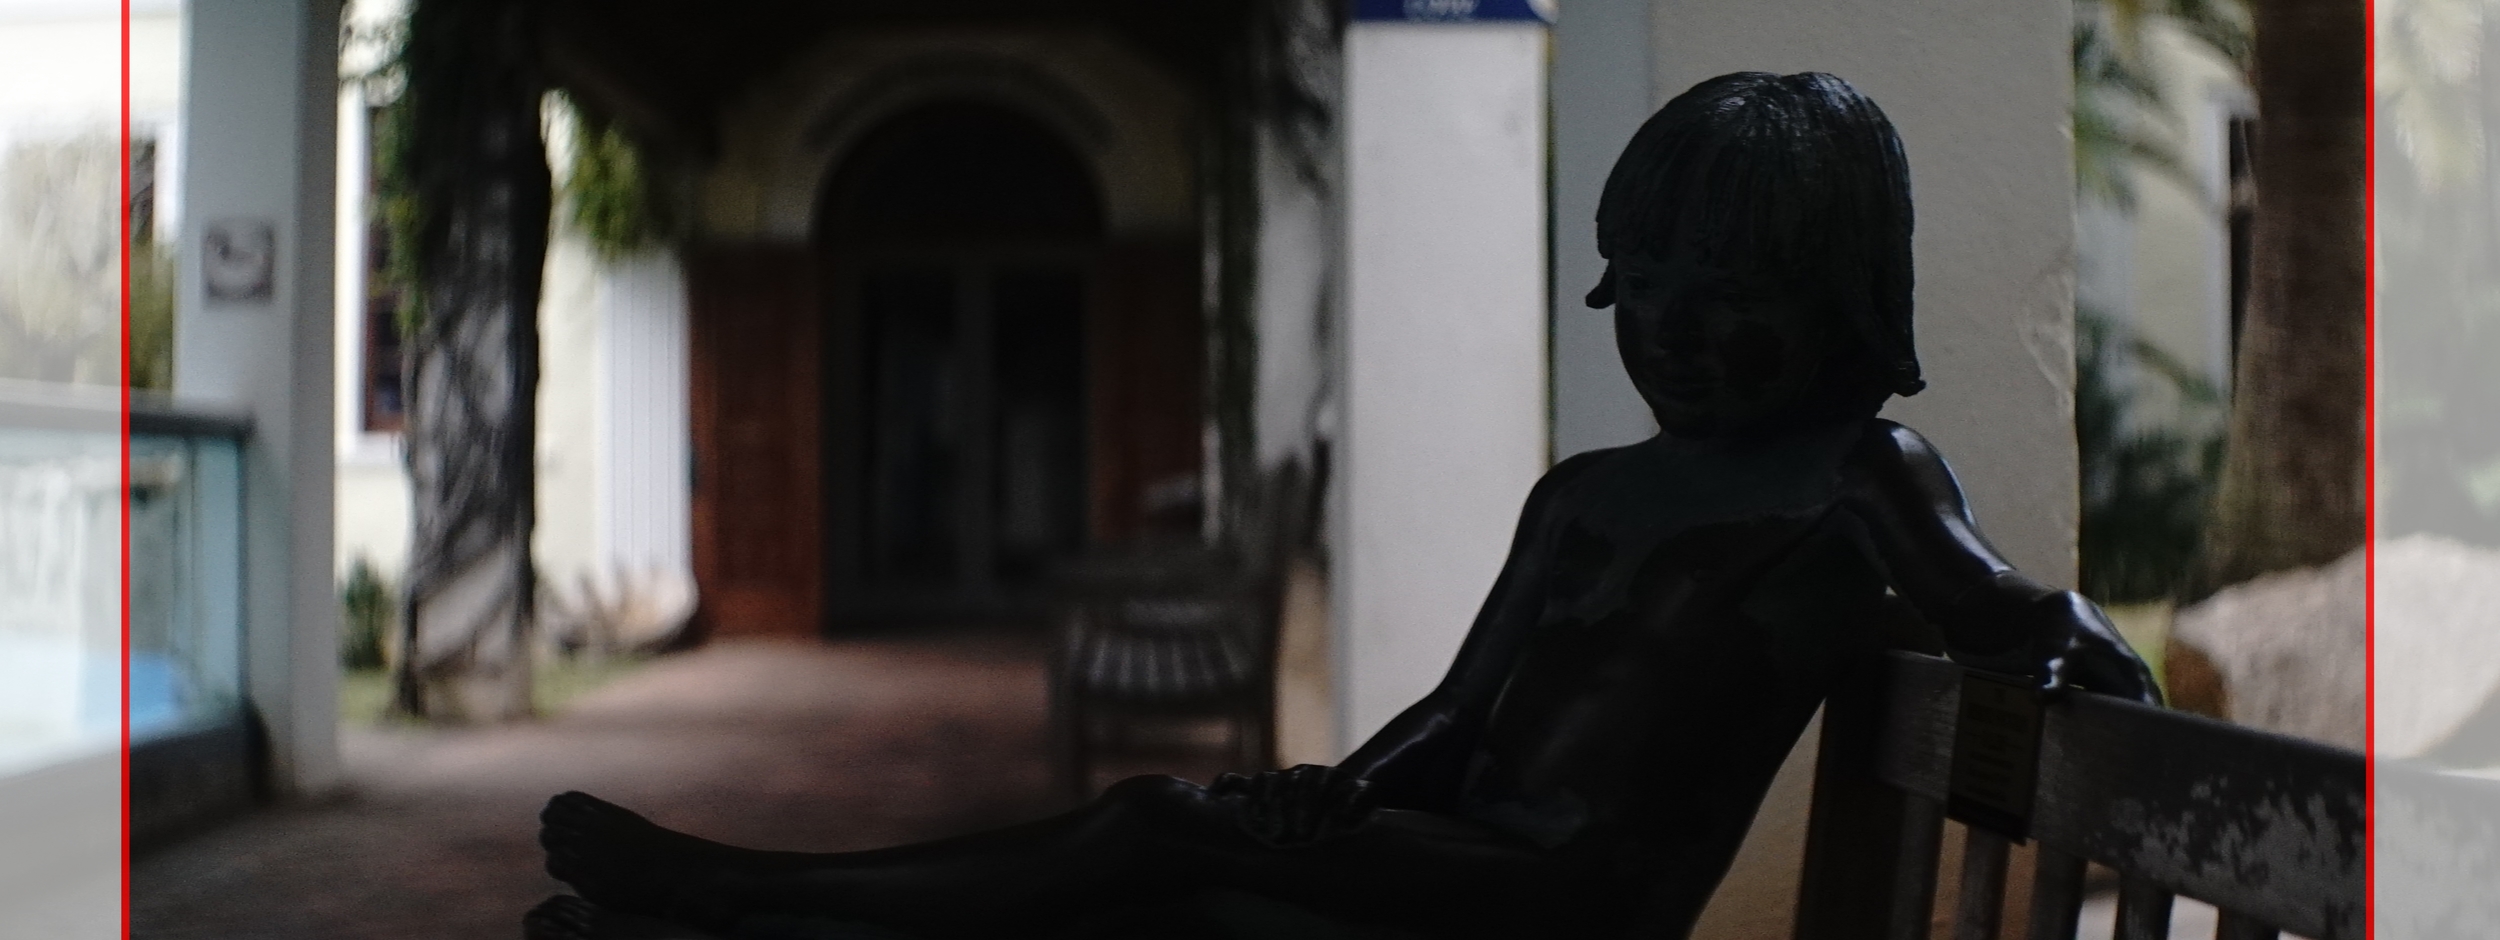
Lomo 50mm squarefront anamorphic | Grotto Bay Beach Resort, Bermuda Islands - f2.5. The full effect of the contrast reduction can be felt in this image of Olivia. Photo by Keith Nickoson
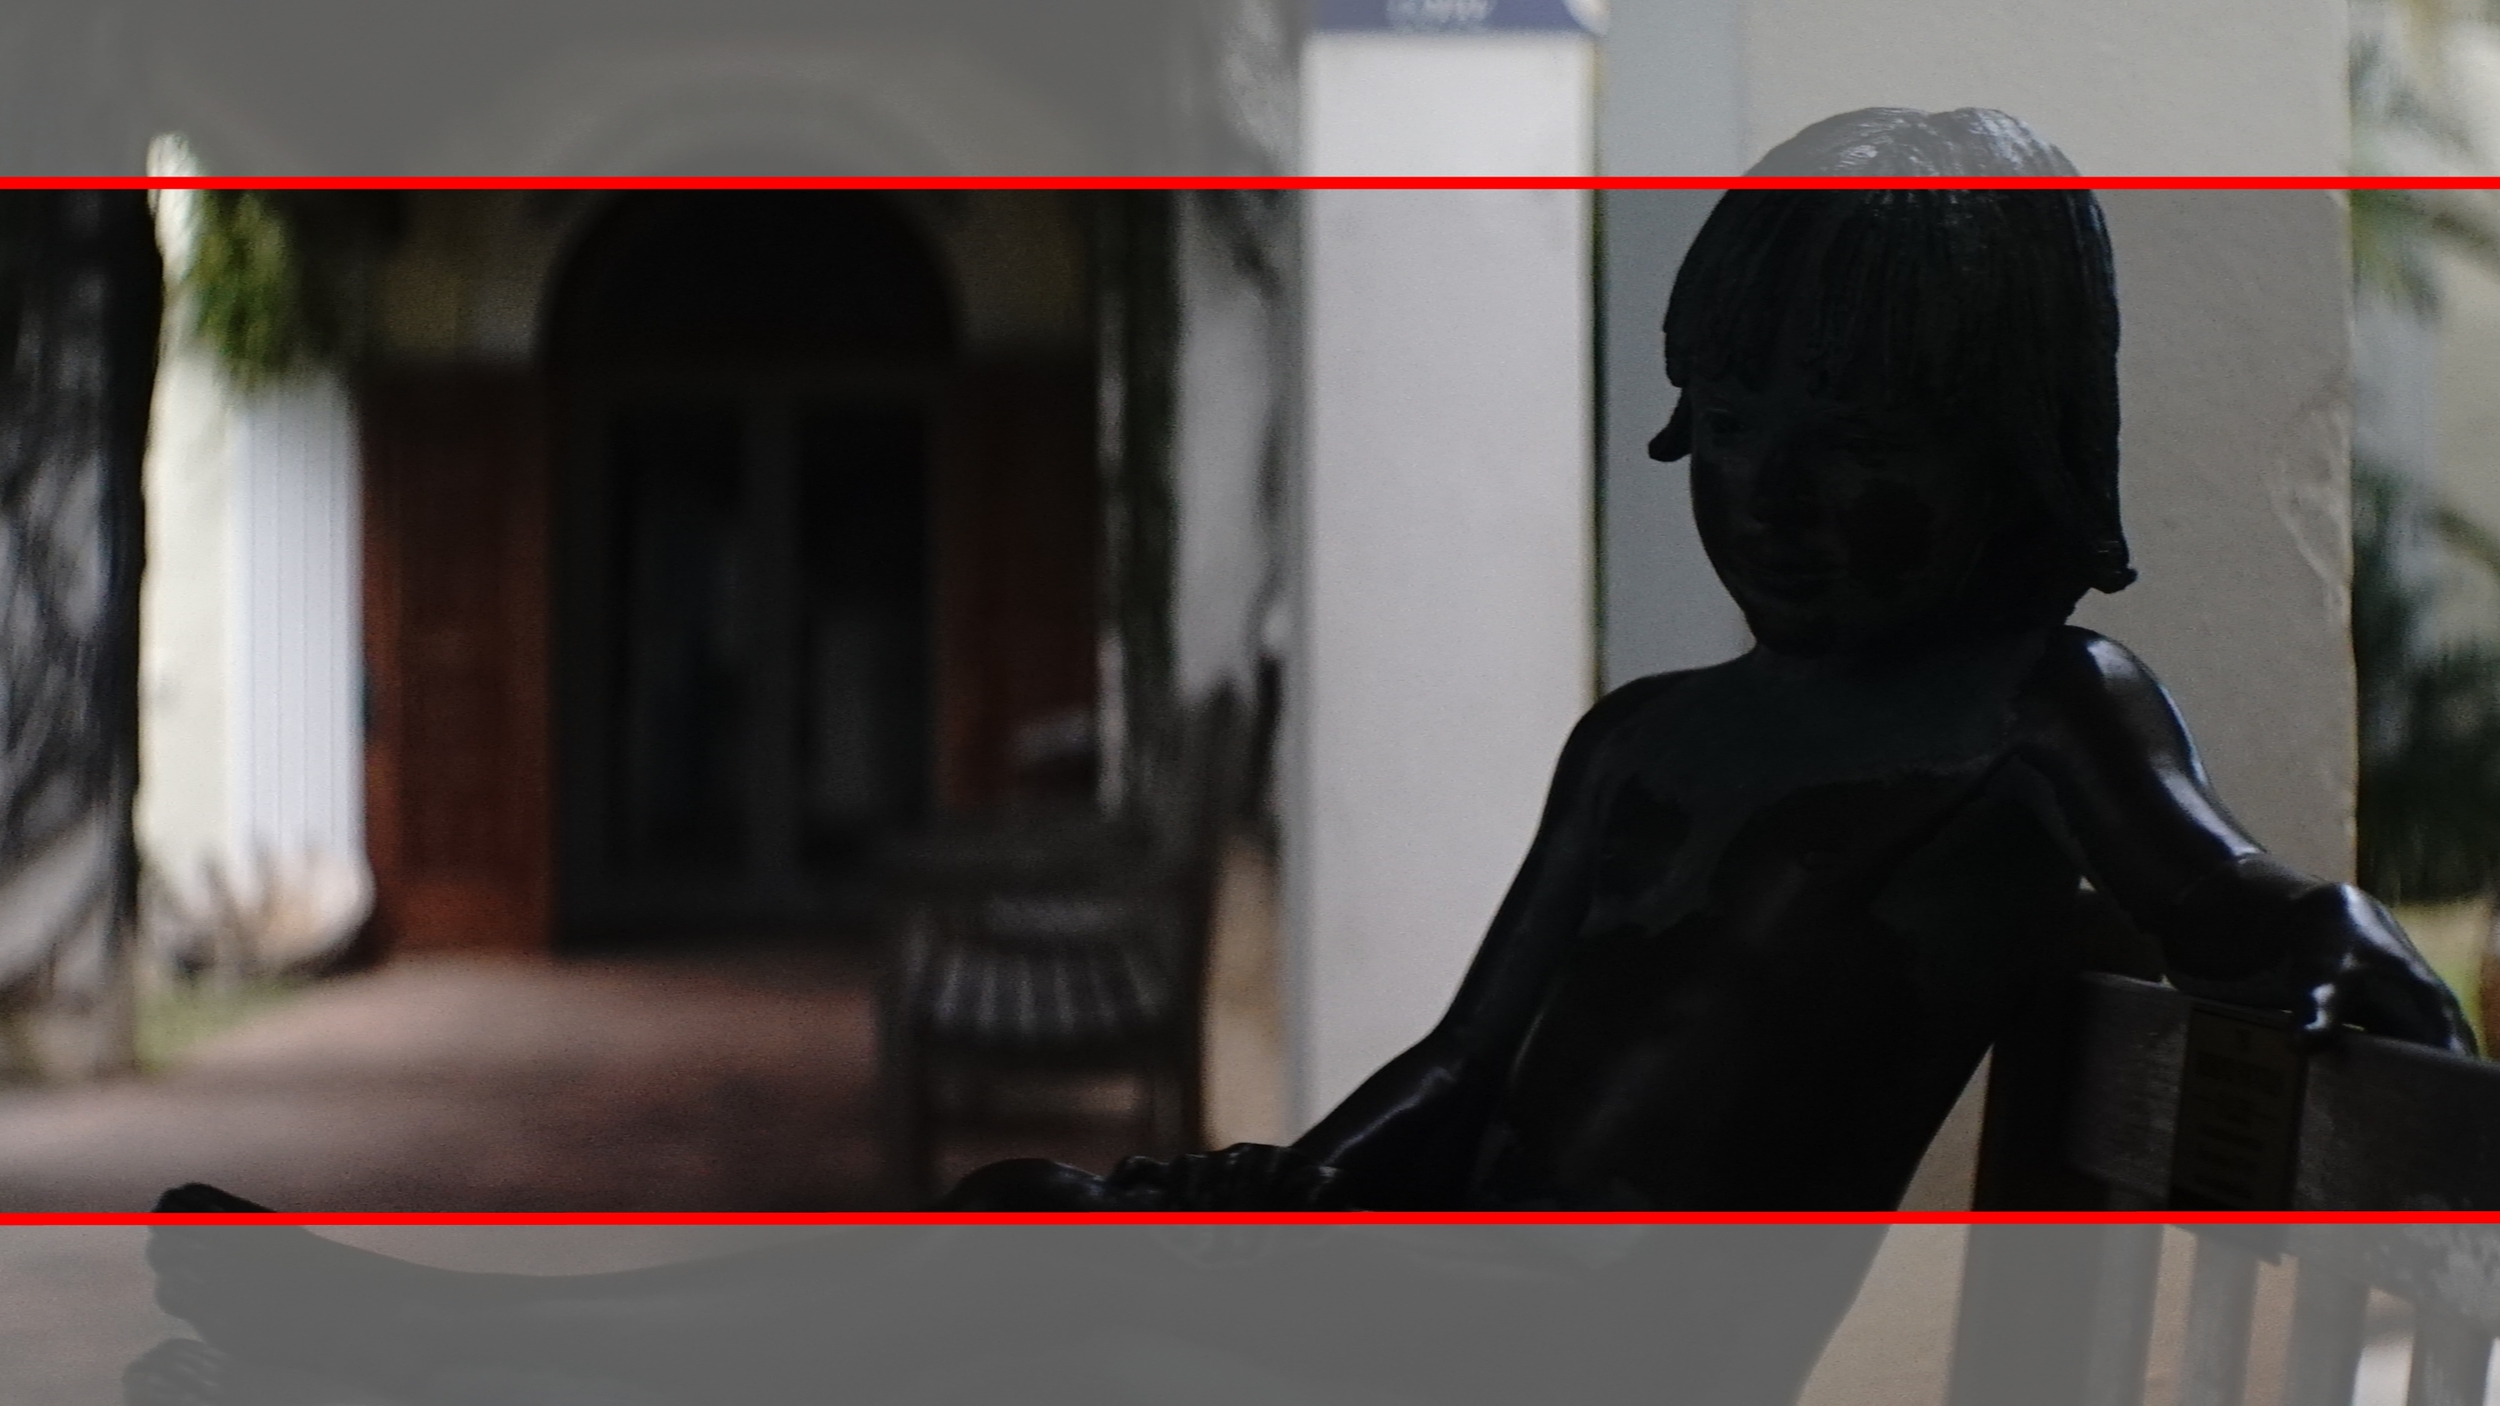
Lomo 50mm squarefront anamorphic | Grotto Bay Beach Resort, Bermuda Islands - f2.5. Blooming and a touch of horizontal streak. Photo by Keith Nickoson.
Lomo 50mm squarefront anamorphic | Grotto Bay Beach Resort, Bermuda Islands - f2.5. This image shows off the full spectrum of the flares this lens produces. We get the pronounced horizontal streak, newton rings, spherical caustic, plus the overall blooming and contrast reduction - all this from the single, on-axis floodlight beyond the trees. Photo by Keith Nickoson.
Lomo 50mm squarefront anamorphic | Grotto Bay Beach Resort, Bermuda Islands - f2.5. This picture shows a more subtle contrast reduction from the dim streetlamp just on the edge of frame. Photo by Keith Nickoson.
Lomo 50mm squarefront anamorphic | Grotto Bay Beach Resort, Bermuda Islands - f2.5. Here's a nice mix of point source and dim streetlamps, creating a mixture of flare types. Photo by Keith Nickoson.
Lomo 50mm squarefront anamorphic | Grotto Bay Beach Resort, Bermuda Islands - f2.5. A double flare. Photo by Keith Nickoson.
Lomo 50mm squarefront anamorphic | Grotto Bay Beach Resort, Bermuda Islands - f2.5. This pic shows some nice bokeh, as well a subtle horizontal flare. Notice too, the Newton Rings across Olivia's jacket. Photo by Keith Nickoson.

Lomo 50mm squarefront anamorphic | Bermuda Islands -f2.5. Photo by Keith Nickoson
Lomo 50mm square-front anamorphic | Warehouse, Cleveland, OH. Fellow shooter and filmmaker William O'Boyle striking a pose here as a flare attacks his neck. Lighting instrument is a ETC Desire D40 daylight LED. Image captured wide open. Photo by Keith Nickoson.
ASPECT RATIOS AND USAGE
With such a wide variety of quality cameras to choose from these days, it can get mildly confusing as to how these lenses are going to resolve when you get an image up. Here's a few quick reference points:
Most professional anamorphic lenses (unless Panavision series, or some outmoded European mount) use the ARRI PL mount. The camera must have this mount, or have the ability to convert to it. Beware of the flange depth though - some still might not fit.
When shooting, the image will be stretched vertically, 2X. If your camera does not do an internal conversion, there must be an external monitor that will de-squeeze it to the proper aspect ratio.
No real anamorphic lenses (that I am aware of) will cover a full-frame sensor. If you are shooting into a 16x9 sensor area and intend to edge crop, that may be a different story - but be prepared to see to the horizon of the image circle.
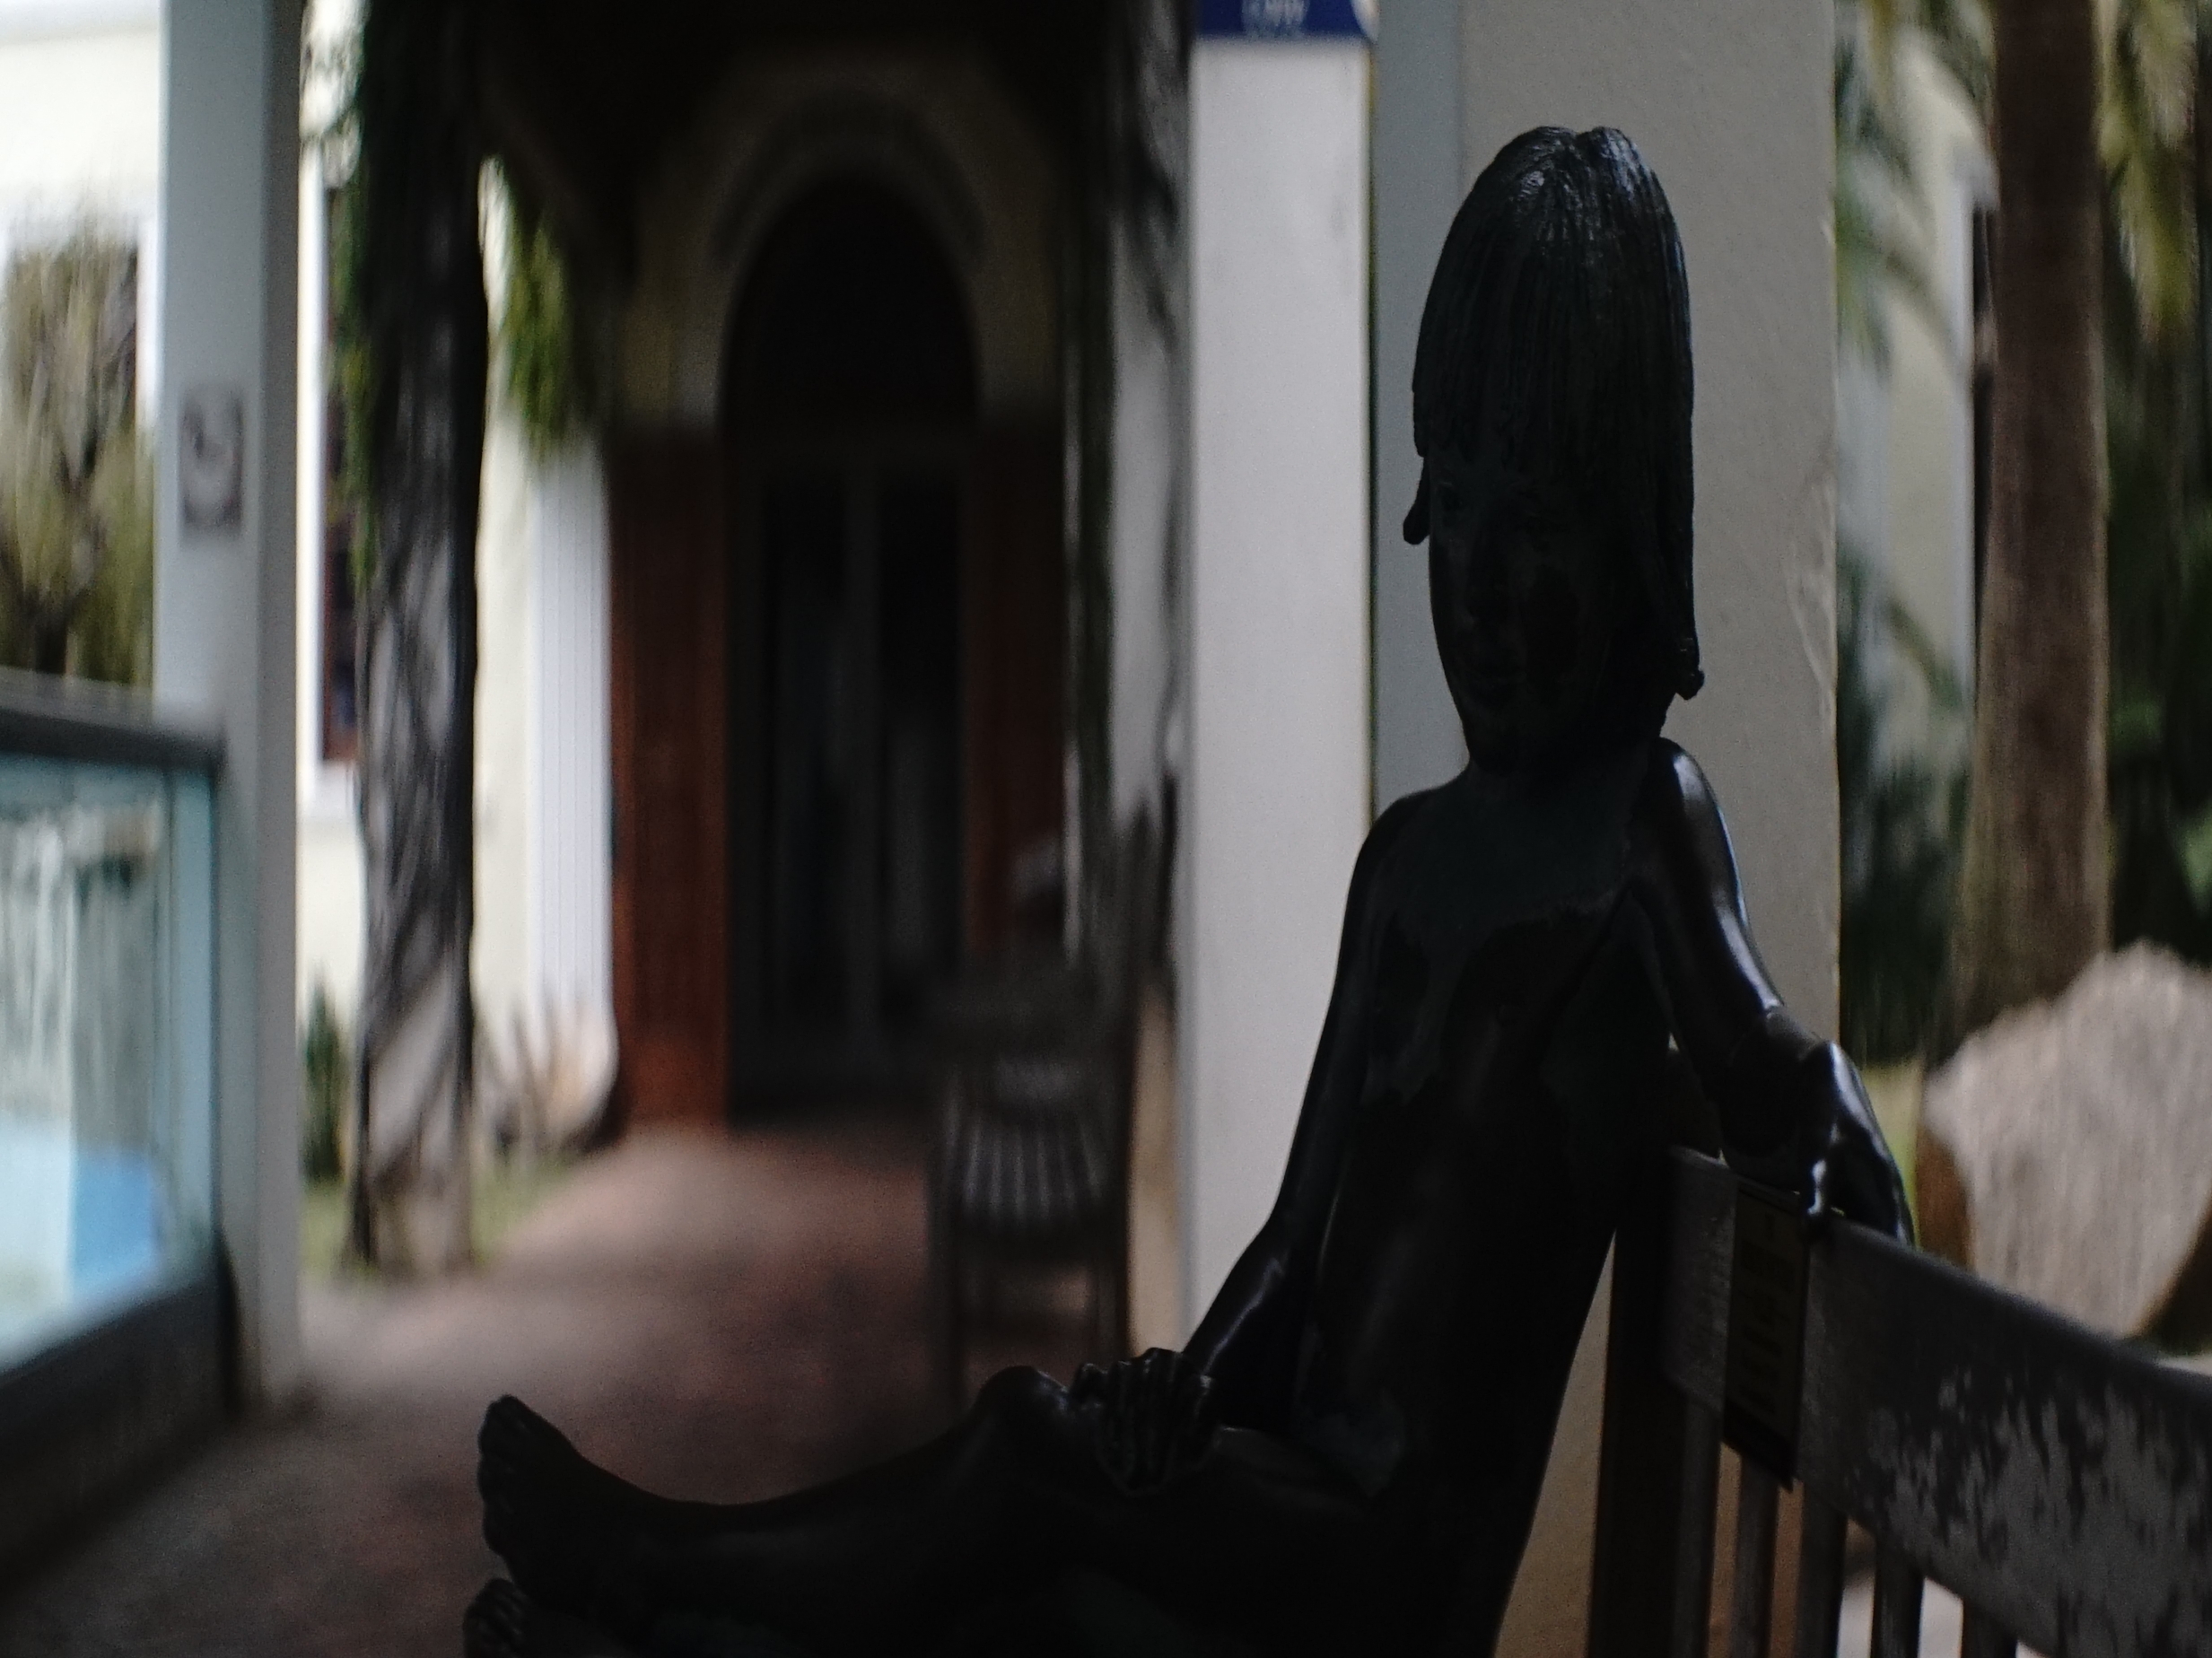
Your aspect ratio depends on the sensor size (or sensor area) you'll be shooting to. Below are a series of pictures to help show how a 2X lens will work on a camera. Note: The pictures are all cropped from the same still and are not intended to show proper usage or coverage of the 50mm. This is just a rough example.
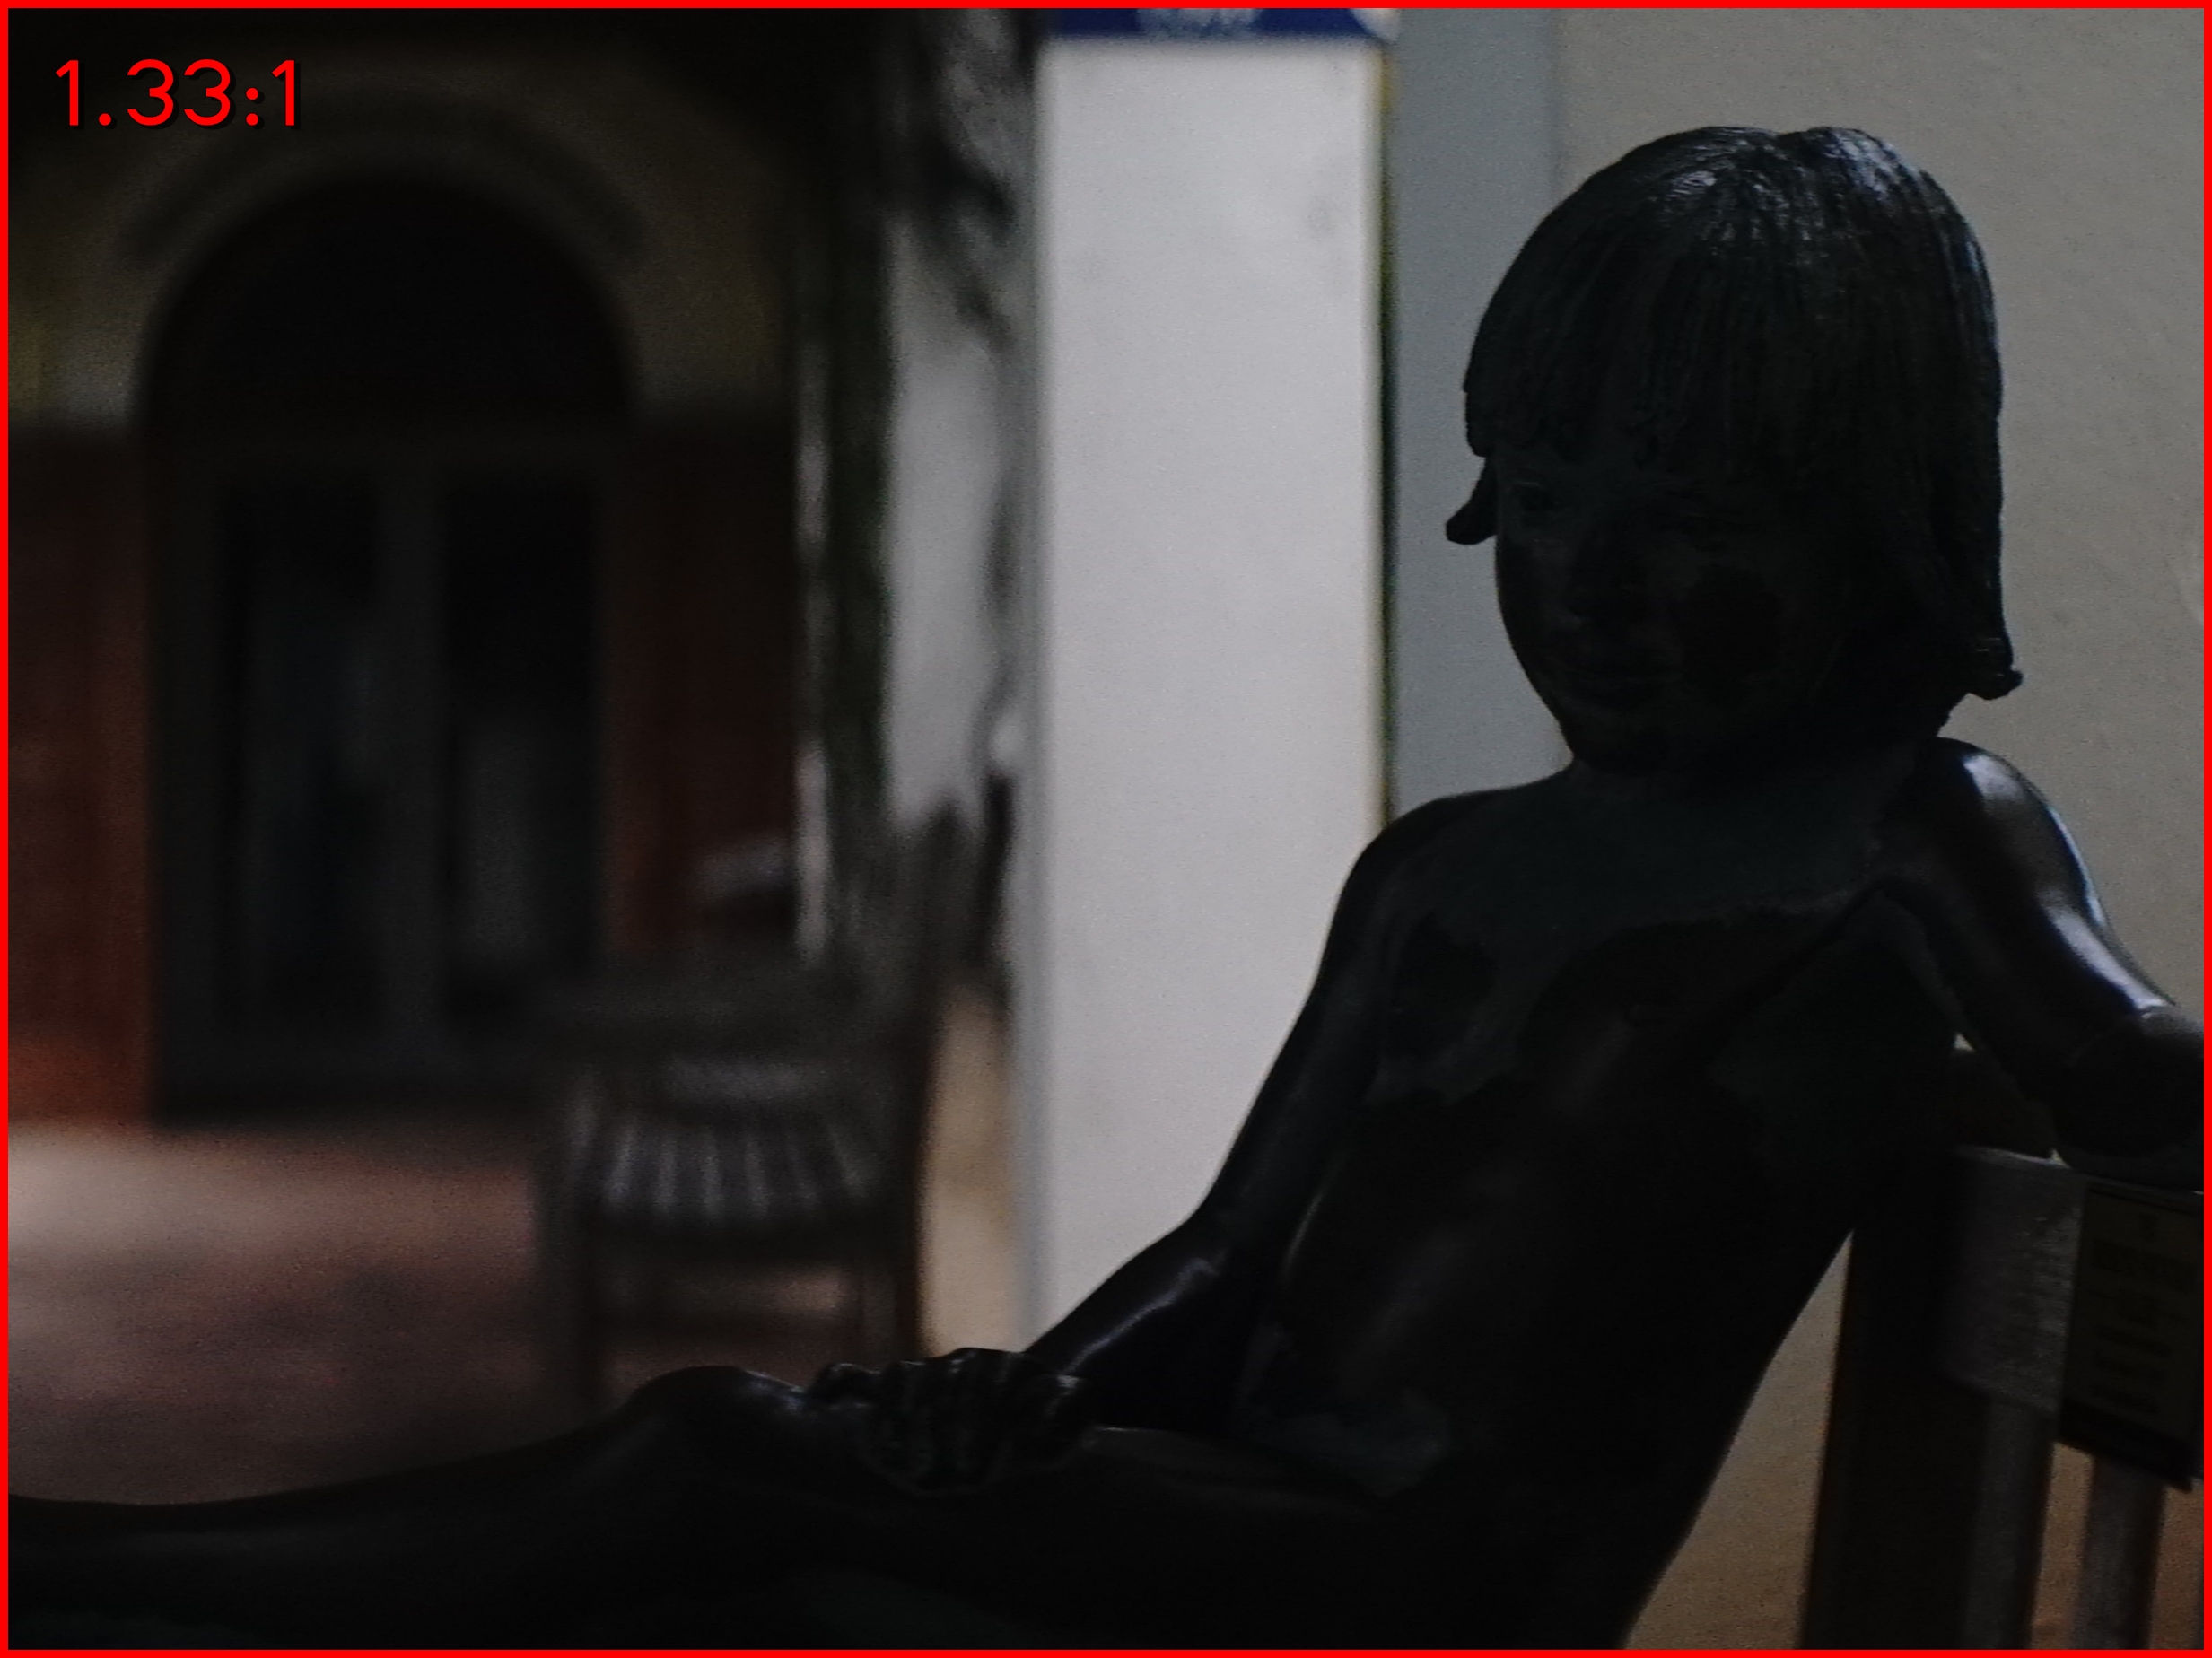
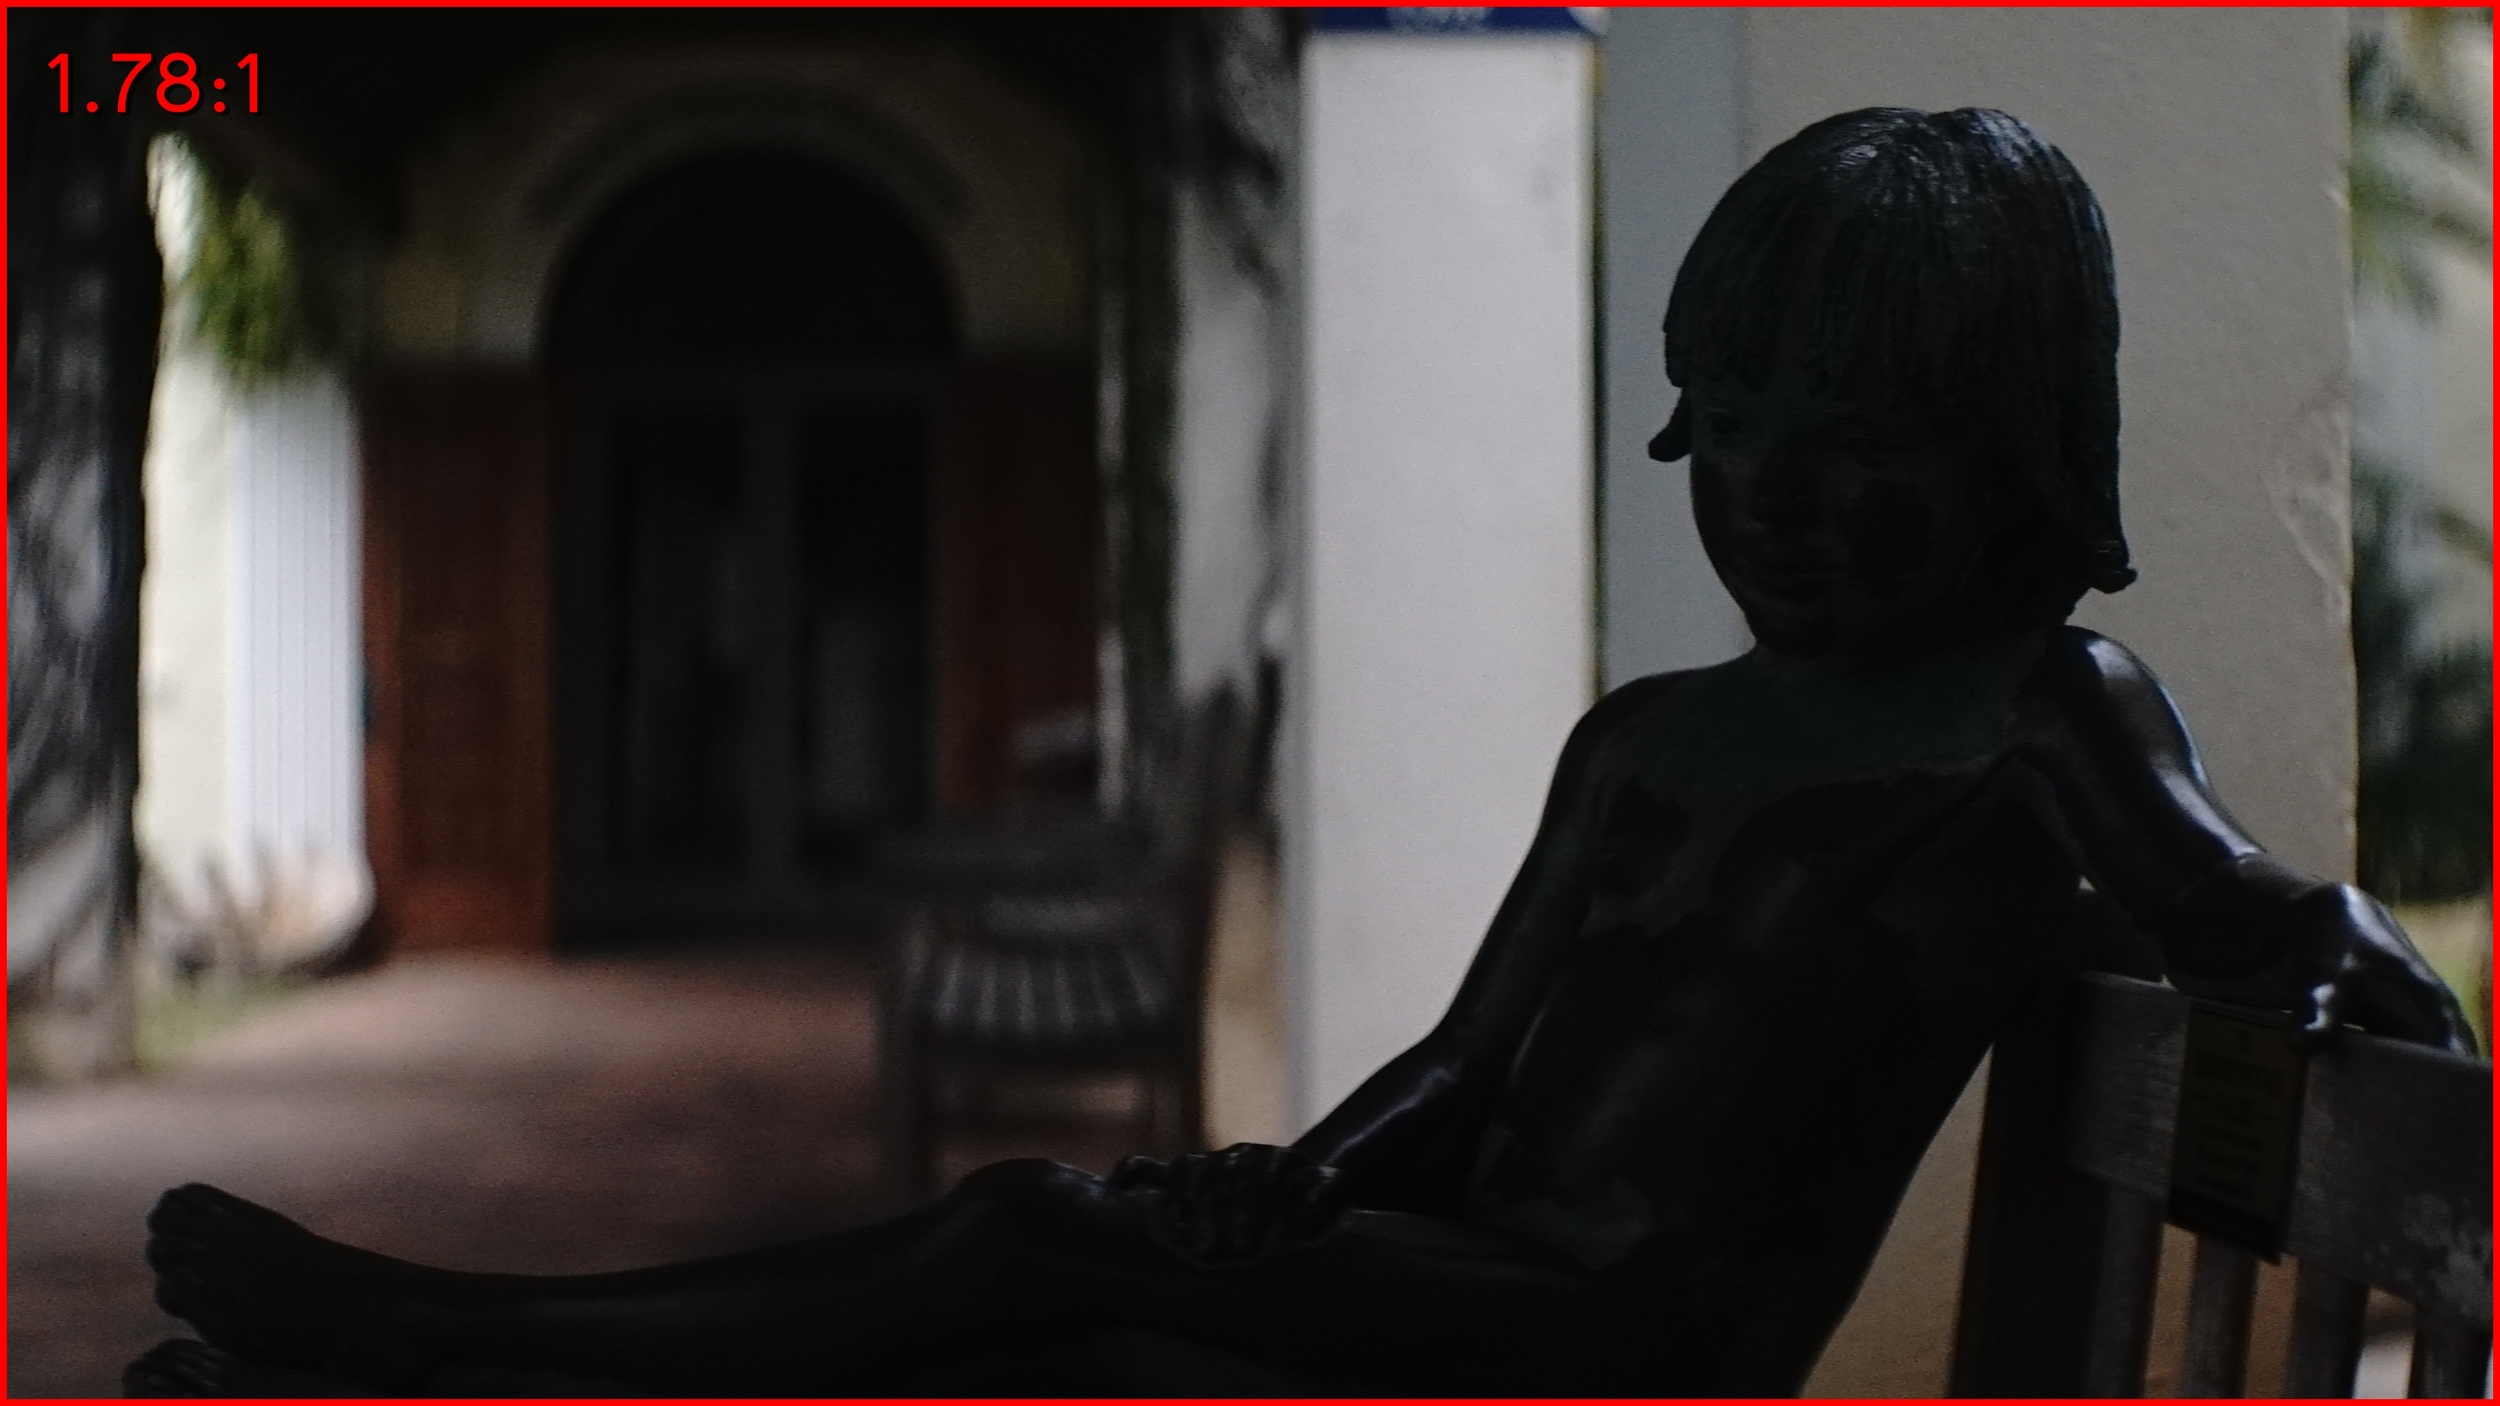
Just to get our bearings here, the first couple images (above) are two standard frame sizes, both cropped to show how you might view a spherical image inside these aspect ratios.

3.55:1 - A 2X anamorphic lens on a 16x9 image area will give you this aspect ratio. The lenses are not exactly suitable for use on a sensor that produces this image size, assuming you intend to finish at an aspect ratio of 2.40:1. Finishing at 2.40:1 is not possible without extreme edge-cropping and loss of resolution. A 1.33X anamorphic lens will provide the proper 2.40:1 aspect ratio on a 16x9 sensor, but with much sacrifice of the anamorphic effect; e.g., distortion and bokeh.
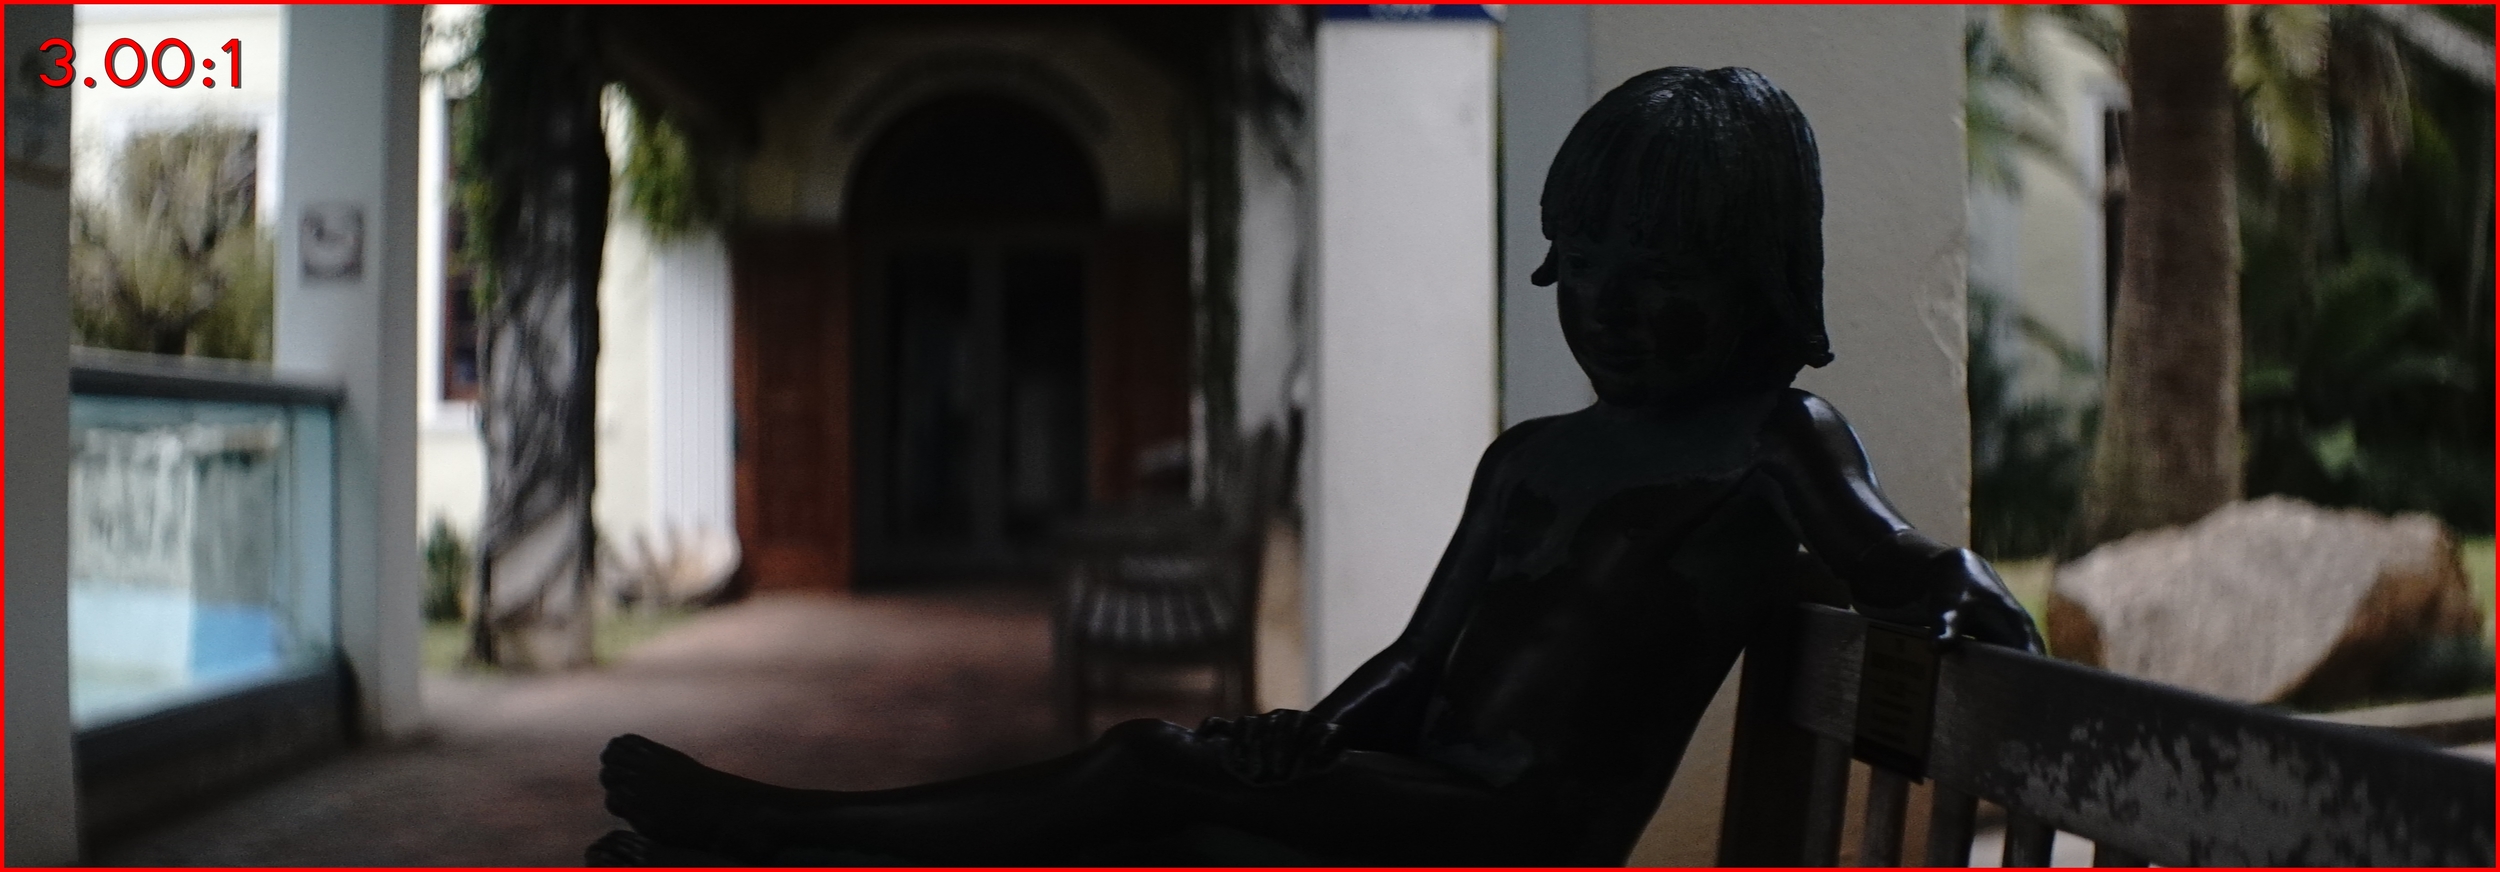
3.00:1 - The math on this one is a little off, but you'll probably never encounter a situation with this aspect ratio anyhow; unless you are shooting stills on the A7s in APS-C mode. This is how I captured the majority of my stills for the blog posts, and thought I would include it here as a reference.

2.66:1 - This is a common image produced on a 4:3 sensor area when shooting anamorphic digitally. Why not 2.40:1? True conversion on 4:3 is a little wider than the finishing format of 2.40:1, because the original usage of 2X lenses on film cameras took the area for the optical sound-track into account. This area is magnified out to achieve 2.39:1/2.40:1.
2.40:1 - This is the most common finishing size for anamorphic films. From my understanding, it is used interchangeably with 2.35:1 and 2.39:1. The minor variants seem to be a creative choice and not one mandated by an actual standard.
CROPPING VS. ANAMORPHIC
With regard to resolution, anamorphic is the only way to retain the majority of the pixel information if you are shooting widescreen. The two example images below show a 4:3 capture area (left) with a 2X anamorphic image squeezed into the frame. The second image (right) displays the image un-squeezed and magnified (pillar-boxed) to 2.40:1, retaining close to 90% of the possible information. 100% if you choose to, or are able to finish at an aspect ratio of 2.66:1.
Our next set of pictures (below) show a 1.78:1 (16x9) sensor area (left), as though shot with a spherical lens to later be cropped in post-production. The second image (left) has been cropped (letter-boxed) to achieve the same final aspect ratio (2.40:1) as image 2 from above. That is nearly a 30% loss of resolution with the same relative aspect ratio. This is what makes cropping less than ideal.

Remember though, both of the above examples are purely theoretical and can differ greatly from the anamorphic parameters - or lack thereof - of the camera system we choose to shoot with. It is also relative to the capture resolution of the camera. If we're shooting in 4k or 5k and finishing in 2k scope, you don't really have anything to worry about when it comes to cropping - pillarbox or letterbox.
In the end, there's really no right or wrong answer for how you choose to see your widescreen project through. Anamorphic lenses are an amazing option when they fit, but they are still just a choice. If something caught your eye, or you have any questions, please feel free to open a discussion in the comments section below. Thanks again for reading!
Click the button below to view the full Bermuda stills gallery.